
You can create devices in ThingsBoard:
- Manually using the dashboard
- In bulk using a csv file import
- Automatically by client request
Manual Provision
Go to entities and devices and click on add device or the + icon depending on the ThingsBoard version you are using.
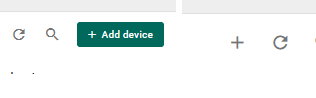
The add device screen opens and you need to enter some basic details. The only mandatory entry in the device name which should be unique.
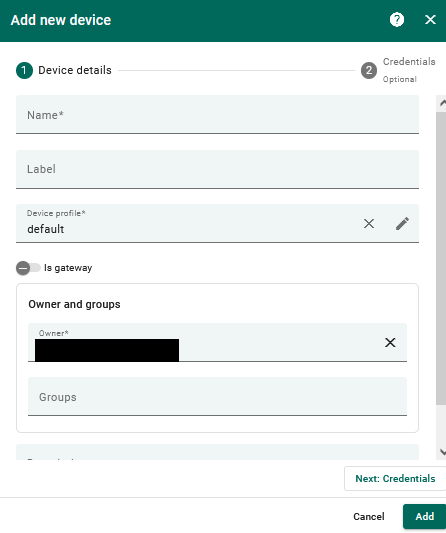
Click add when done.
Rather than go through numerous screen shots I have recorded a video .In the video below we look at adding a device and checking connectivity.
We also look at bulk import using a CSV file which is also covered in more detail below.
Bulk Provisioning
documentation ref
You will first need to create a CSV file that looks like the one below:
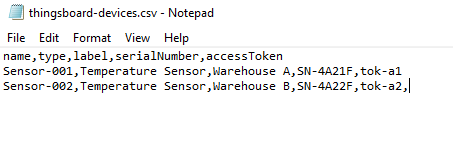
It is important that the name and access token are unique.
To import a CSV file go to Add device and select import.
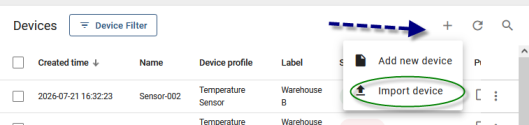
You are presented with a 5 step import screen. The first step is to selct the csv import file .
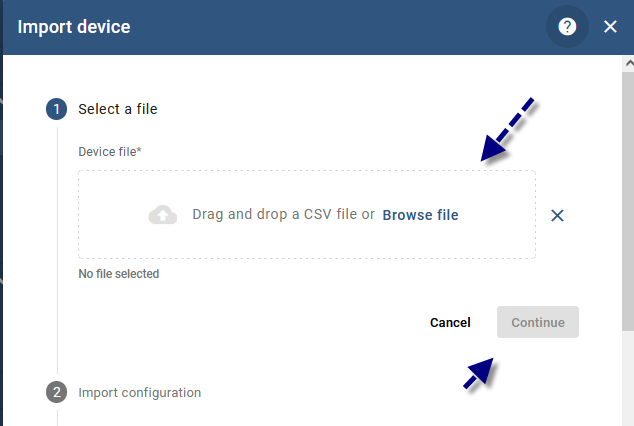
The click continue to proceed to step 2.
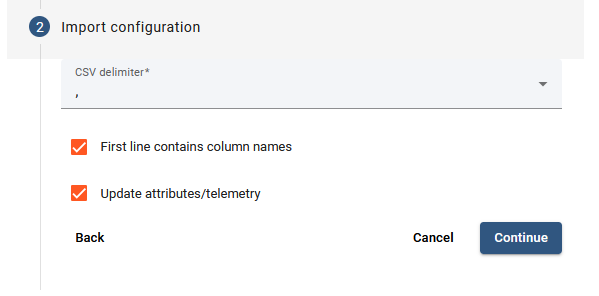
Ensure that the check boxes are ticked as shown above and click continue.
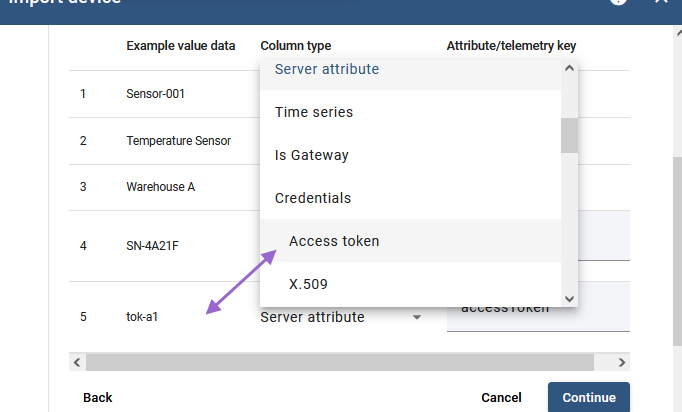
This is the tricky part as now you need to assign the column type.Notice below that I used the down arrow to select access token.
The screen should now look like that below:
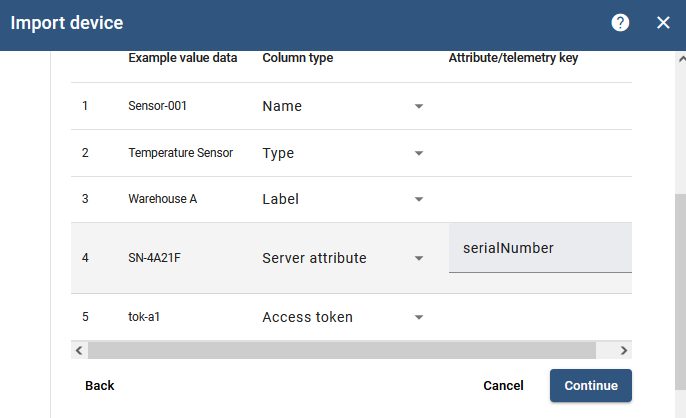
Now click continue and the devices will be created.
Related Tutorials and Resources: