
 MQTT Lens is an add-on for the chrome browser that lets you publish messages to an MQTT broker, subscribe to MQTT topics, and receive messages using the chrome web browser.
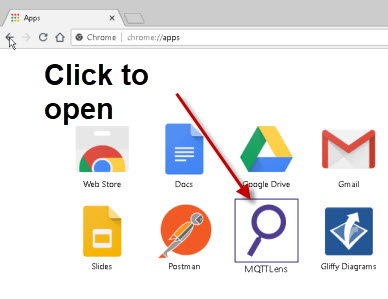
Once installed you access it via the url chrome://apps as shown below:
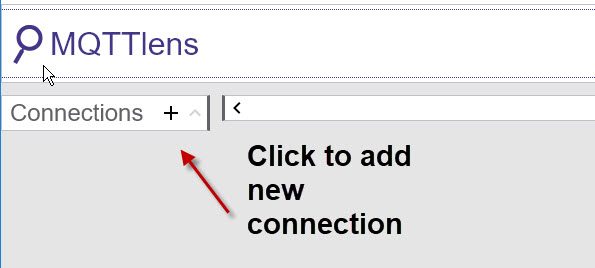
When MQTT-Lens first opens you should see a blank screen.
Click on add connection to create new connection to a broker
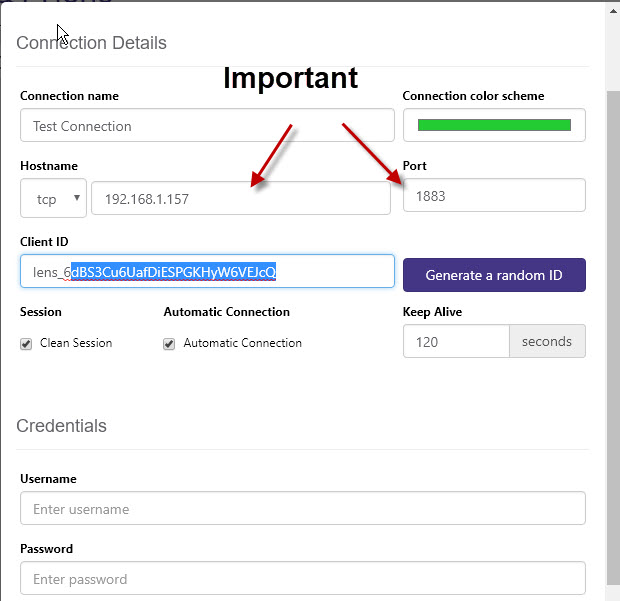
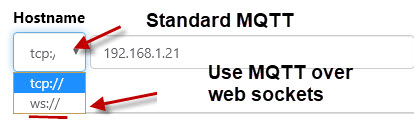
The only item you normally need to add is the broker name or IP address. If you are also monitoring traffic on the broke console then you might want to change the client ID to something easier to spot.
Important -You should remember that the client ID must be unique.
By default clean sessions are enabled.
By default it uses standard MQTT over TCP but you can also use MQTT over Websockets by selecting the protocol as shown below:
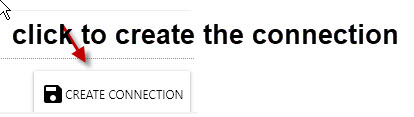
Click the create connection button on the button to complete the creation.
The screen should now display the publish and subscribe screen.
On the left the icon should be green if the connection was established OK.
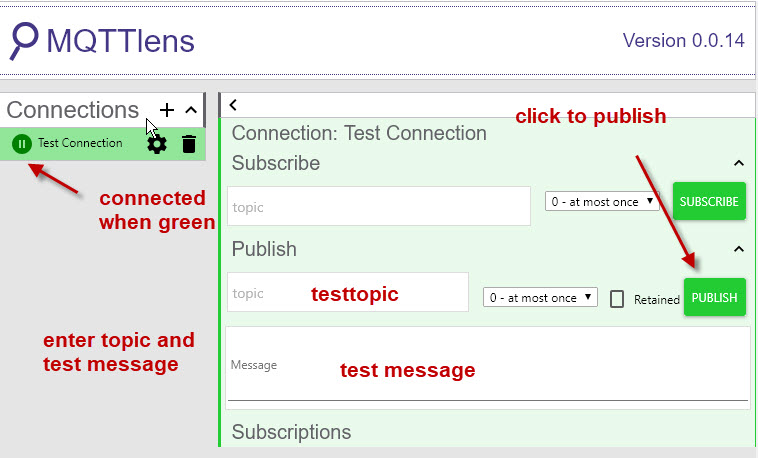
Now enter a topic (any name will do) and a test message, and then click publish to publish the message.
When publishing you can also set the retain flag using the check box.
You can set the QOS on subscribe and publish using the drop down box next to the topic.
It is possible to subscribe to multiple topics.
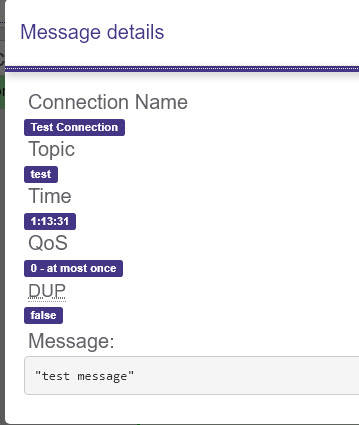
Received messages are displayed in the window below. Each topic has its own display box.
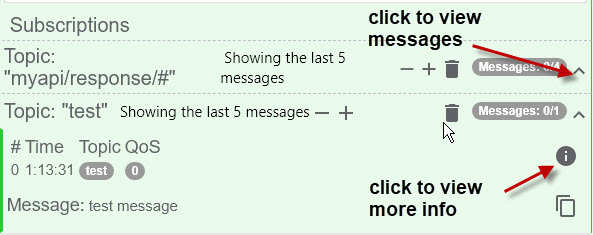
There is also an info icon next toe the received message. If you click it it shows more information about the received message.
Related tutorials and resources:
- Using The Mosquitto_pub and Mosquitto_sub MQTT Client Tools- Examples
- MQTT Retained Messages Tool
- MQTT Ping Test Tool-Python Script