
MQTTbox comes in two forms:
- An add-on to the chrome browser
- A nodejs App
In this tutorial we will be using the chrome browser add-on.
MQTTbox lets you publish messages to an MQTT broker, subscribe to MQTT topics,receive messages and do load testing.
It is a more feature rich tool than MQTT-Lens which is also a chrome browser add-on.
Once installed you access it via the url chrome://apps as shown below:
Although it is more feature rich than MQTT-Lens it is not as popular according to the download statistic.
The main advantage it has over MQTTLens is that it has SSL support and also load testing support.
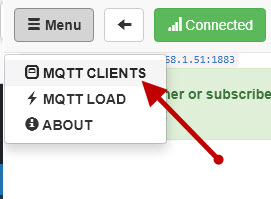
The first task is to create a new client connection. Tp do that open the MQTT clients screen using the menu in the top left.
The screen displays existing clients if you have them and their connection status (green (connected) or red(disconnected),
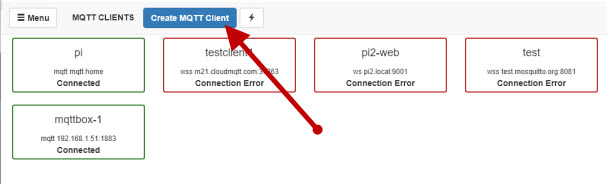
Click the blue create mqtt client button to create a new client. A dialogue box opens and you need to enter the client details. Mandatory are:
- Host port and IP
- Protocol
- Client Name
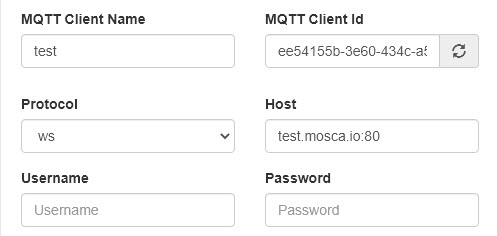
Notice the ip address and port are configure in the host box.
Possible protocols are:
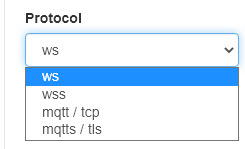
- MQTT over TCP
- MQTT over TCP with SSL (APP version only)
- MQTT over Websockets
- MQTT over Websockets with SSL
The client supports MQTT v3.1 core features will messages, clean sessions,retained messages and QOS levels 0,1,2.
If you select an SSL option additional dialogue boxes are displayed to enter the various certificates file paths.
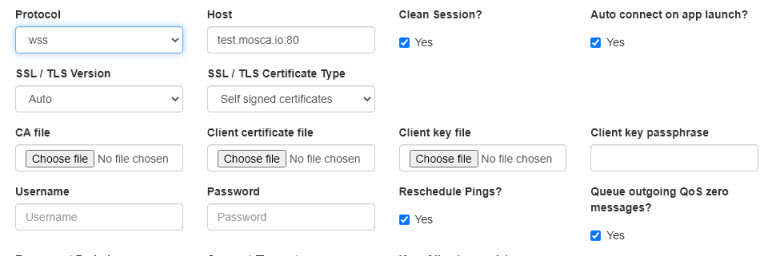
The client supports standard SSL and also client certificates.
On the Chrome client only websockets +SSL is supported. The settings for my connection to my cloudmqtt instance is shown below:
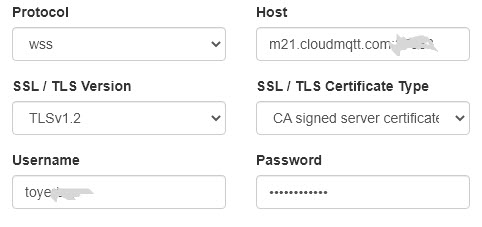
Notice that I don’t need to enter a path for the CA file as it is included in the browser as Cloudmqtt uses a public CA.
If you use a custom CA then you will need to install it on your system and enter the path.
Note: I was able to get SSL working on my cloud MQTT broker but not my local broker even though my local broker tested OK using Python and my JavaScript Websockets script.
When you save the connection settings you are presented with publish and subscribe options.
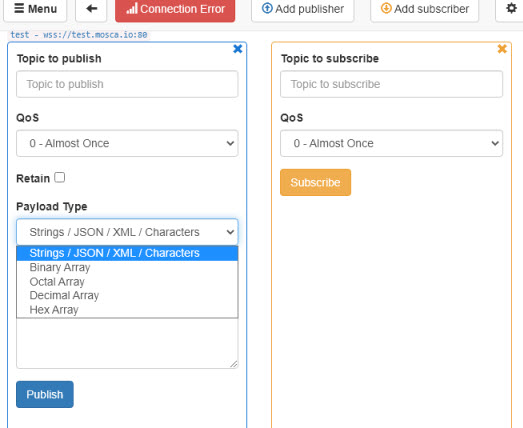
The most common format for published messages is string which also includes JSON data.
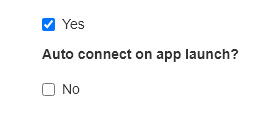
Auto connects and Manual connects and Disconnects
One of the settings of the connection is auto connect.
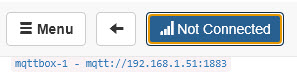
You can also control the connection using the connected button on the top of the App window.

It toggles the connection off/on.
Load Testing
MQTTbox allows you to easily generate test traffic for load testing.
You can create both a publish and subscribe load test
Summary
MQTTBox is a very useful MQTT test tool especially if you prefer a graphical interface.
However I must admit I rarely use it and prefer the command line mosquitto client tools.
Related Tutorials and Resources
- Using MQTT-Lens- Beginners Guide
- MQTT Retained Messages Tool
- MQTT Ping Test Tool-Python Script
- Using The Mosquitto_pub and Mosquitto_sub MQTT Client Tools- Examples
Hi Steve,
Can we perform the load test with multiple connections using the mqtt toolbox?If so, could you please point me in the right direction?
If you mean running NQTTbox on different machines then yes. But they are individual tests
rgds
steve